
Laundry Machine Filter
Up to 1,500,000 tiny strands of plastic called microfibers wash off of synthetic clothing every time you do a load of laundry. These synthetic fibers are so small, they’re not easily filtered out in standard wastewater treatment processes, leading to many of the fibers continuing downstream into other states drinking water and into rivers and oceans. Once in the river system, microfibers are often ingested by wildlife, which can disrupt entire food chains and more.
Our team has partnered with Boulder Water Resource Reclamation to create a functional laundry filter which removes microfibers from laundry water before it ever leaves your home. Our wall-mounted filter design is easier to use than existing products, and is more effective. We found our design is capable of catching 1.6 kilograms of microfibers per 4 person household per year! Our microfiber laundry filter enables a significant reduction in an individual’s plastic pollution, which is a critical step we can all take towards preserving Earth’s most fragile ecosystems. 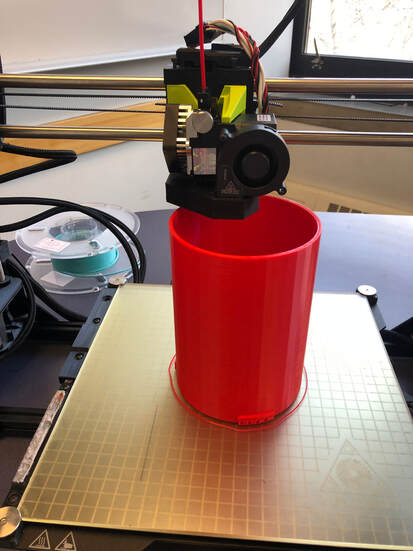
|

Expo Video
https://photos.app.goo.gl/iy4rTNxKAphisDhN7 Target Audience We designed this project for the environmentally minded person. This product would remove plastics from water supplies and ideally this product would be included in all washing machines from the manufacturers. Our community client was a Boulder local water treatment plant engineer who introduced us to the problem of plastic pollution in the water supply. Design Process
|
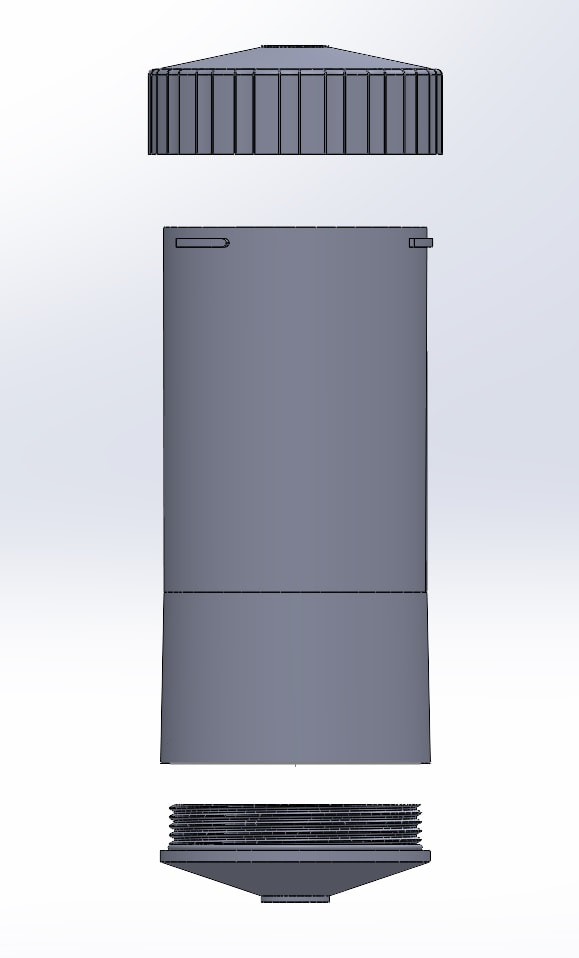
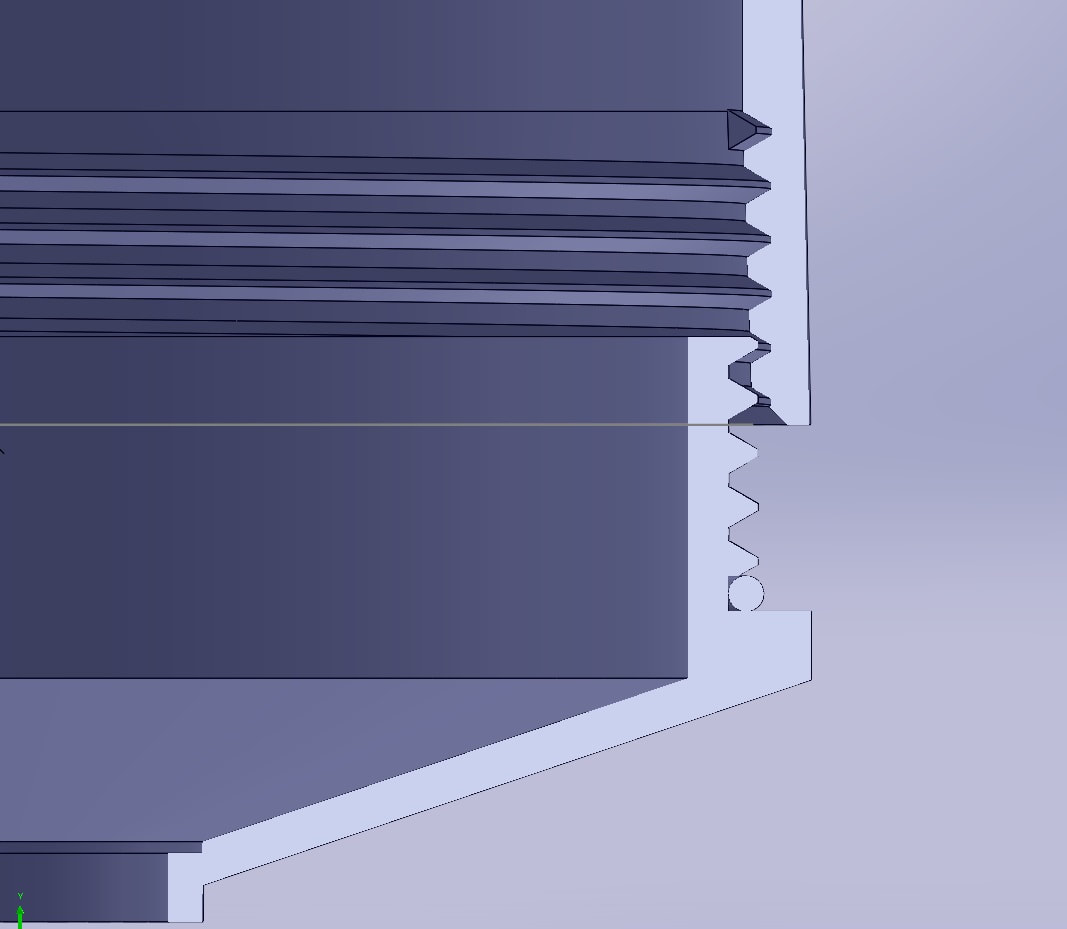
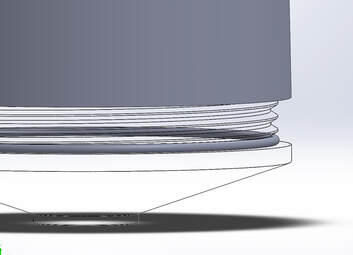
SolidWorks Model
|
|

|
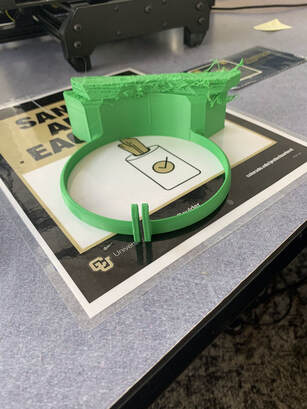
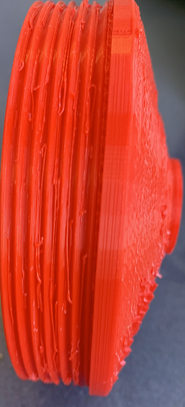
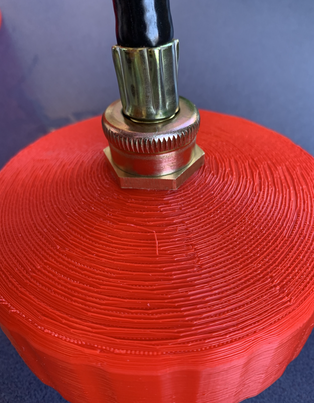
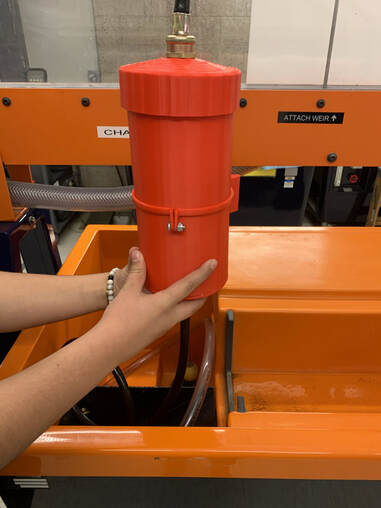
Ultimately we decided to 3D print our design to allow full control of the design. Using my experience with 3D printing we were able to create a design that was easily printable while meeting all of our requirements. One of the greatest hurdles of deciding to print was the tolerances would need to tight in order to ensure being water tight. We decided to create threads on the bottom cap so that cleaning of the housing would be done easily and I thought it would be cool. The top cap is secure by three locking lugs that create a snug fit. Deciding on the tolerance required trial and error, but as soon as we had the printers dialed in we were able to create a revision that would provide minimal leaks. Ultimately the second revision did leak but by incorporating an O-ring on the bottom cap we were able to eliminate leaks from the bottom cap.
Some of the hardest challenges we encountered was with the TAZ Workhorse printers. They were newly acquired by the department and required some calibration each time we printed a part. Fortunately, I am well versed with these printers and I was able to calibrate them to prevent mid-print failures. Some other issues we encountered was preventing flow issues through the housing. We found through testing that flow backup would occur. But, if our design could be pressurized then the design would work very well.
Some of the hardest challenges we encountered was with the TAZ Workhorse printers. They were newly acquired by the department and required some calibration each time we printed a part. Fortunately, I am well versed with these printers and I was able to calibrate them to prevent mid-print failures. Some other issues we encountered was preventing flow issues through the housing. We found through testing that flow backup would occur. But, if our design could be pressurized then the design would work very well.
|
|
|
Testing
|
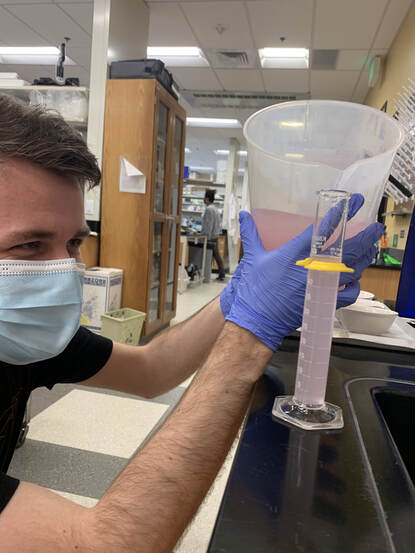
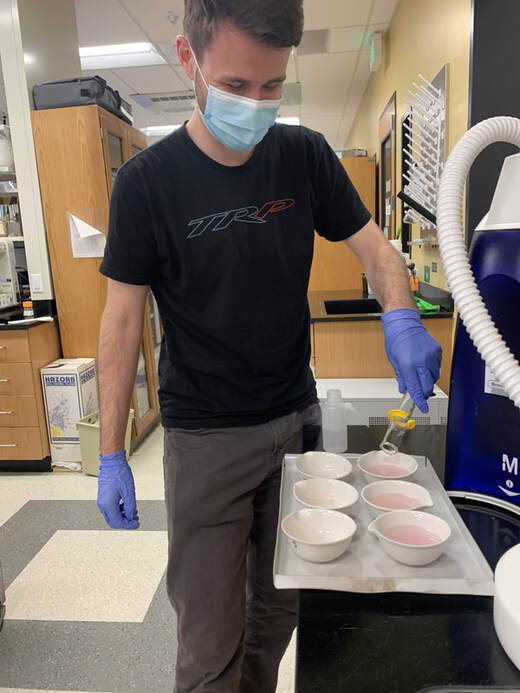
To ensure the design worked as intended we conducted a total solids test to quantify the results. We conducted this experiment in our universities environmental engineering lab after we had our testing procedure marked off by an Environmental Engineering Professor. We started by measuring our 50ml of each solution of filtered and unfiltered. We then set the samples in an oven for 24 hours to allow for all water to evaporate. We then used a highly accurate scale, that can measure to ten-thousandths of a gram, to measure our samples. From our testing, we found that if the filter were used, it could remove around 1.6 kg of microfibers and microplastics from entering waste water per year.
|
|
Conclusion
|
This project taught me a great deal about manufacturing and teamwork. Using our University's Environmental lab was a tremendous opportunity and I gained a lot of experience during my time working on this project. My major contribution to the group was CAD and the 3D printing. I also spent a lot of time conducting the tests in lab. If I had more time I would print another revision to tighten the tolerances and add threads to the top cap. One of the largest drawbacks of the design was that it was not fully water tight. But given more time we could make the design perfect.
|
|
Budget of Materials
|
Timeline
|
Our budget for this project was $300. We were $213 under budget. |
This project was conducted over a semester:
January - Initial basic design showing proof of concept February - First iteration complete March - Final product complete and starting total solids test and hydraulic testing April - Finished testing and finalized data |
CAD Files
| filterbodyrev4pitched.sldprt |
| filterbottomrev4pitched.sldprt |
| filtertoprev4.sldprt |
